Cleaners and Polishers of Marble, Travertine And Stone Flooring.
Hole & Crack Repair In Marble, Travertine and other Natural Stone Flooring.
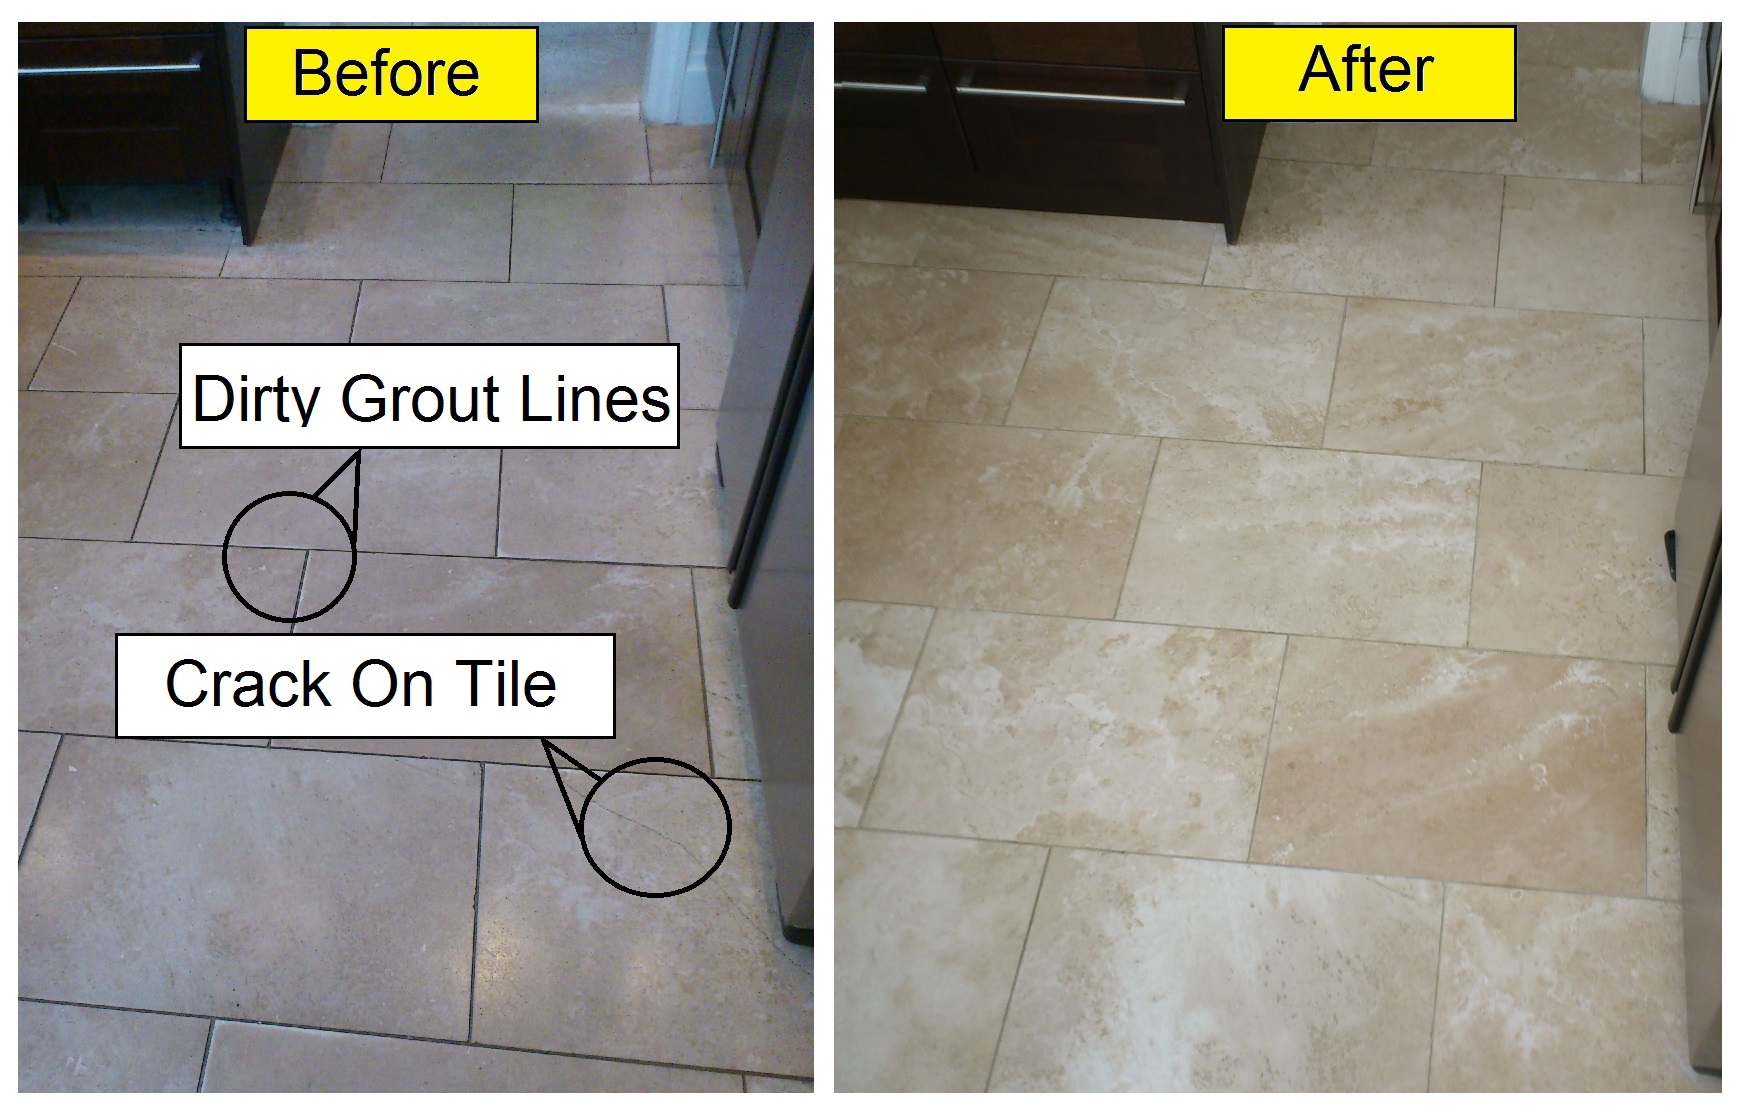
There is nothing worse than a Hole or Crack appearing in your otherwise beautiful Natural Stone Floor.
Good news! These holes and cracks can be repaired and in most cases become unnoticeable.
Holes Or Cracks In Travertine Flooring
There are a number reasons for them appearing, in travertine it is often due to the honeycombed structure of the stone itself, please see Travertine Hole Filling for more details.
Please call to arrange a free quotation:
07940 855 883 – 01565 755 300
Holes or Cracks in Marble Flooring
For Marble flooring holes are more likely to be a flaw in the stone or damage caused by something dropping on the Marble tile.
Cracks in Mable, Travertine or Limestone flooring often occur across joists, board joints or between two rooms. This is sometime due to movement in the floor below the tiles. Alternatively it can be due to badly laid tiles or movement, especially in new homes or extensions.
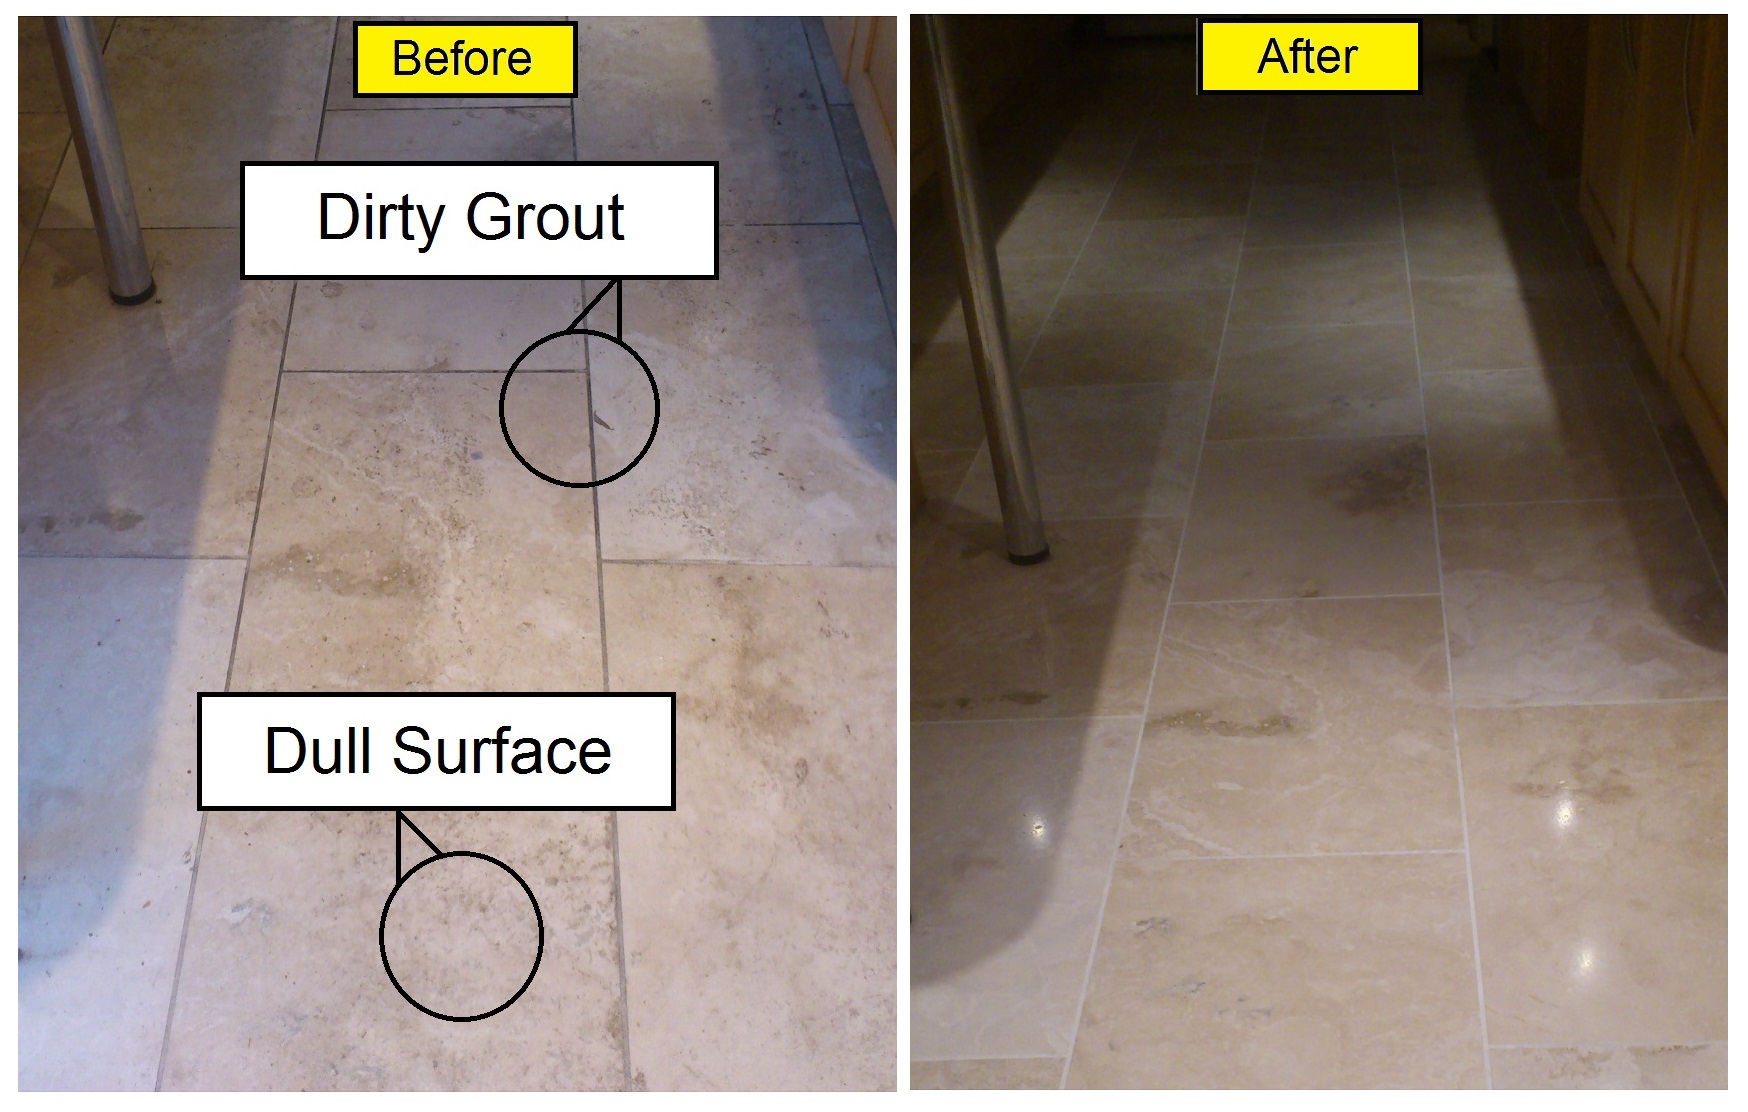
The Holes or Cracks in Marble, Travertine and other Natural Stone flooring will need cleaning out and then filling with the correct Epoxy Resin filler, one which is designed for Natural Stone. These fillers take around 10-20 mins to dry hard, sometime more in larger areas. It is also advisable to polish the floor after this has been done as it help disguise the filler.
Please call to arrange a free quotation:
07940 855 883 – 01565 755 300
Please Note: In most cases the resin filler blends into the stone and it becomes hard to see, sometime invisible. However it is worth noting that often the owner of the floor will always know where it was, mainly because it was a unpleasant feature of their floor for so long. So some cracks and holes will still be visible but now they are filled the dirt will no longer catch in it and so it will be more hygienic and a LOT less noticeable.
How to avoid cracks when laying a Marble, Travertine, Limestone or other Natural Stone floor:
Always ensure the floor has settled, so for new homes consult your builder or engineer to see how long this will be. For established concrete floors ensure the tiles are laid correctly and NOT using the dap-and-dot technique, this is a fast method of laying tiles however it leaves large areas of tile with no adhesive between it and the floor below. Rather lay tiles on a continuous bed of adhesive.
If the floor is wooden boards ensure the whole floor is covered in flooring boards normally these are 4’x6’ is size, these boards should be secured to the wooden floor below every 3”, yes 3”. This is time consuming and costly however it should prevent the need to take up broken tiles and replace. It has been known for cracks to appear along every edge of the 4x6 when this has not been done.
Also speak to a tiling expert before making any final decisions. The above is a guide only and should be discussed with your floor layer / tiler before the floor laying process is started to ensure the best results.


